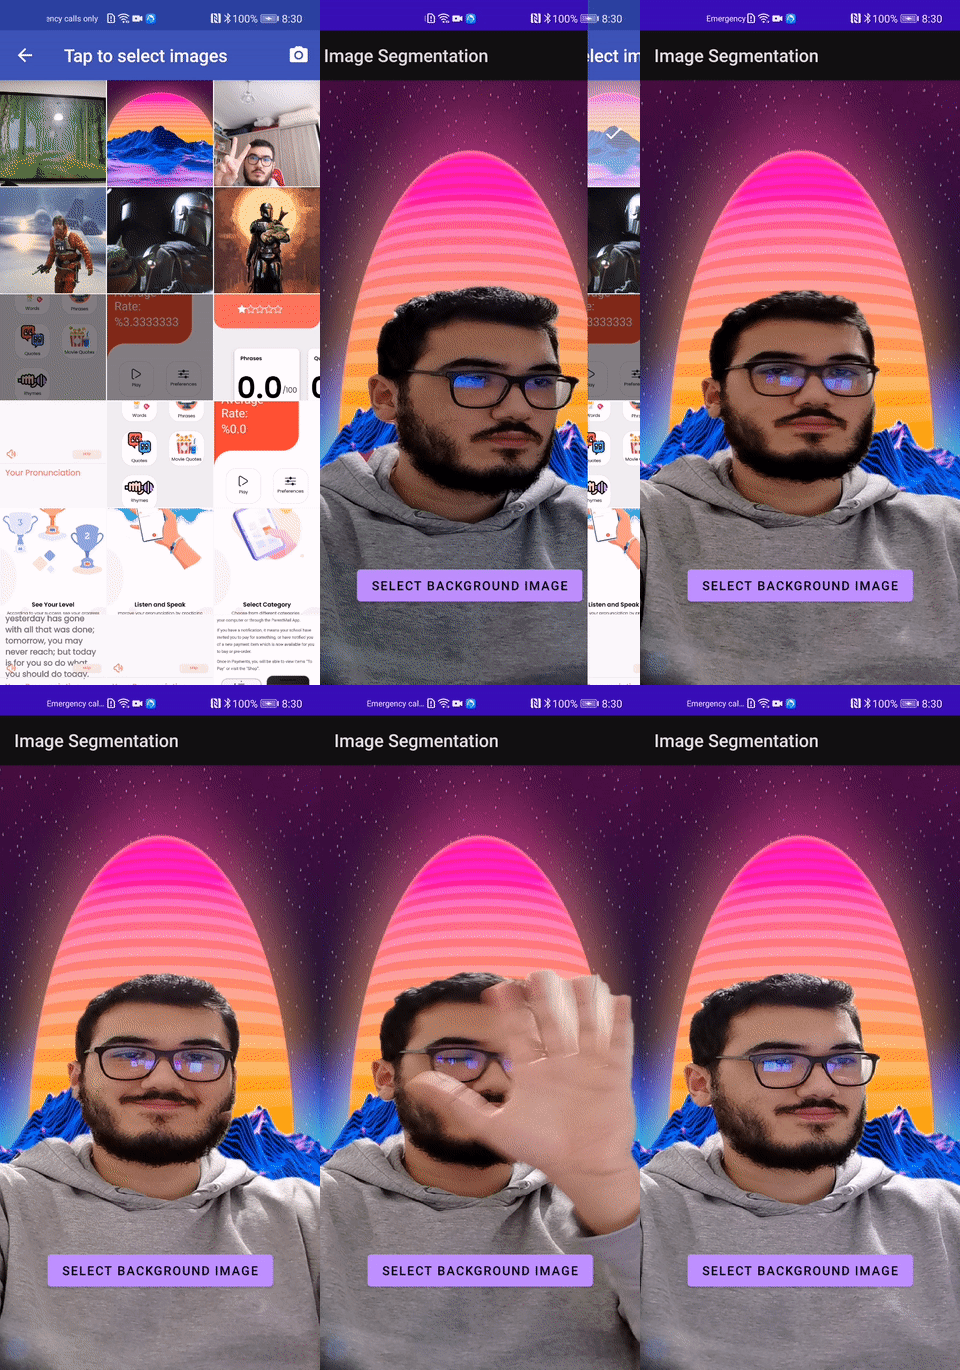
Isn’t that a nice background?
The Human-Body feature guide of Huawei ML Kit’s Stream Image Segmentation
Hello, my name is Yekta. And welcome to another Mr.Roboto Series. In this article, we’re going to see how we can extract a human body from a stream via Image Segmentation.

Huh, I don’t know you, but that did not sound nice to me except in terms of Computer Science 😄. Anyway, we demonstrated how to extract the human body in static images in the previous article. Enough said, let’s proceed to the topic.
## Image Segmentation
The image segmentation service segments the same elements (such as the human body, plant, and sky) from an image. The elements supported include the human body, sky, plant, food, cat, dog, flower, water, sand, building, mountain, and others. This service supports the segmentation of static images and dynamic camera streams and provides the human body and multiclass segmentation capabilities. Fine segmentation is supported. The mean intersection over union (MIoU), an indicator for measuring the image segmentation precision, is better than the industry level.
⚠️ Fair warning, We would only focus on the Human-Body model package. You could click here to find out what the Human-Body model package is.
## Development
The sample’s usage is very simple. You select just a background image, and then voila. You see that image in your background, just like below.

I see that you have seen real me 😄.
We start by initializing the analyzer with some settings. First, we would like to identify only the human body, so we use MLImageSegmentationSetting._BODY_SEG_ constant. Then, we give false to setExact() to get fast segmentation. You could also set this one to true to be able to get precise segmentation but this may cause some problems in some older phones. Then, we create the ImageSegmentAnalyzerTransactor class that implements MLTransactor<T> for processing detection results. And attach it to it via setTransactor() method. The generic parameter of MLTransactor is MLImageSegmentation.
ImageSegmentAnalyzerTransactor is where our business logic resides. In our case, it is the place where we receive human-body foreground frames and draw them into a canvas.
After that, we call initializeLensEngine() method to set our desired configurations.
And lastly, we start and close our camera stream considering our lovely Fragment Lifecycle. That would make our app resource-friendly and most importantly bug-free.
And before we finish this section, don’t forget to release your resources.
🤓 Bonus content: you could also read this reference link to see how you can multi detect in camera stream mode.
## Test
⚠️ Each HMS Integration requires the same initial steps to begin with. You could use this link to prepare your app before implementing features into it. Please don’t skip this part. This is a mandatory phase. HMS Kits will not work as they should without it.
After reading it, you should do one or two things to run the app. First, enable ML Kit under the Manage APIs tab on AppGallery Connect and should see the image below after enabling it.

Then, download the agconnect-services.json file that is generated and place it under the app directory.
## Github Repository
That is it for this article. You could search for any question that comes to your mind via Huawei Developer Forum. And lastly, you can find lengthy detailed videos on Huawei Developers YouTube channel. These resources diversify learning channels and make things easy to pick and learn from a huge knowledge pool. In short, there is something for everybody here 😄. Please comment if you’ve any questions on your mind. Stay tuned for more HMS Development resources. Thanks for reading. Be safe, folks.